Level Up Your Streaming Game: The Ultimate Guide to Setting Up Your Home Studio
So, you’re ready to take your streaming to the next level? Fantastic! But let’s be real, jumping into streaming can feel overwhelming. Where do you even begin? Don’t worry, I’ve got you covered. This guide will walk you through setting up a killer home streaming studio, whether you’re a gaming guru, a makeup maestro, or a cooking queen.
1. Choosing Your Streaming Weapon: The Right Equipment
Before you even think about lighting, you need the core components. Think of it like building a house – you can’t decorate until you have the foundation. Here’s what you need:
- A Powerful Computer: Your computer is the brains of the operation. You’ll need a system that can handle streaming software, your games (if gaming), and any other applications you’ll be running simultaneously, without lagging. Consider an i7 or Ryzen 7 processor, a decent graphics card (especially for gaming streams), and at least 16GB of RAM.
- A High-Quality Webcam: Your webcam is your audience’s window into your world. Invest in a good one! Look for a webcam with at least 1080p resolution and good low-light capabilities. Many streamers also use external microphones, but a good webcam with a built-in mic will do for starters.
- A Microphone (Highly Recommended): Let’s be honest, the audio quality matters just as much as the video. A good microphone will make your stream sound crystal clear, helping your audience feel more connected. Consider a USB microphone (easy setup) or an XLR microphone (more advanced, better audio quality, but requires an audio interface).
- Streaming Software: This is the software that brings it all together. Popular options include OBS Studio (free and powerful), Streamlabs Desktop (user-friendly), and XSplit Broadcaster (more features but often requires a paid subscription).
- Fast & Reliable Internet: This is non-negotiable. A stable internet connection with upload speeds of at least 5 Mbps is essential for smooth streaming. Consider upgrading your internet plan if necessary.
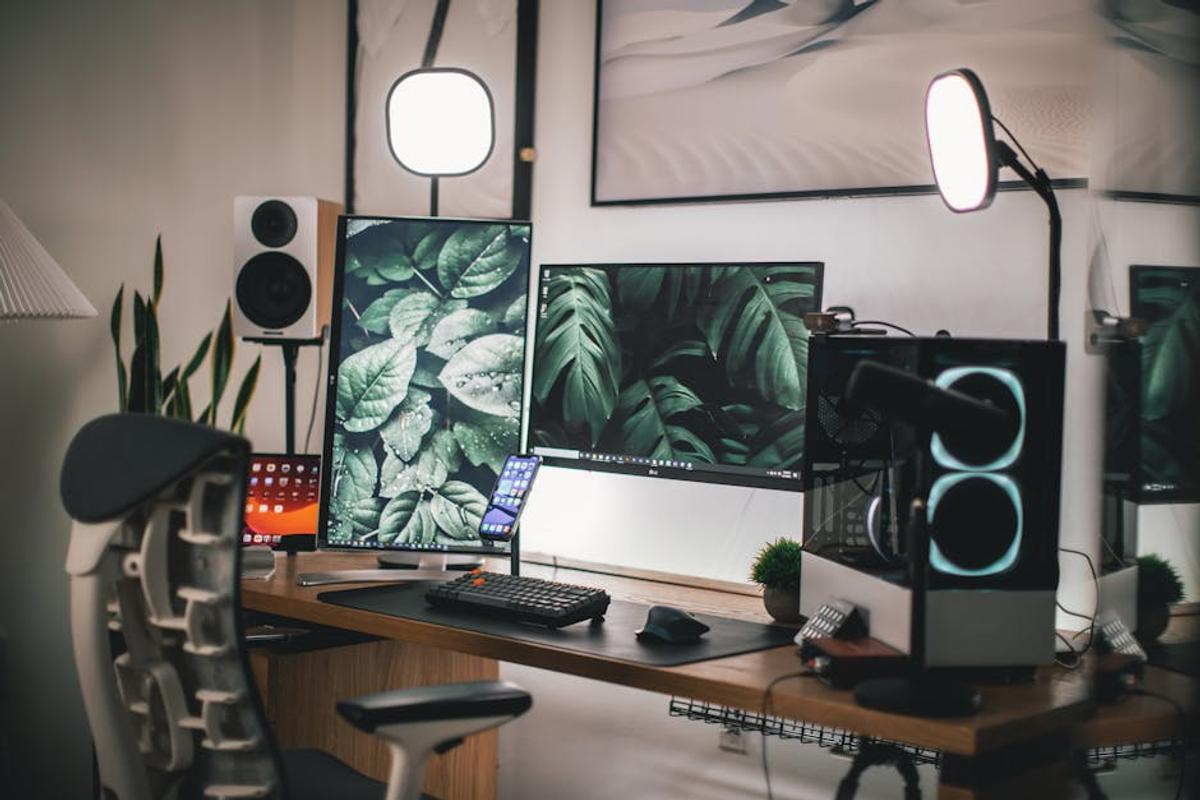
2. Setting the Stage: Your Streaming Space
Where you stream is just as important as the equipment itself. Consider these factors:
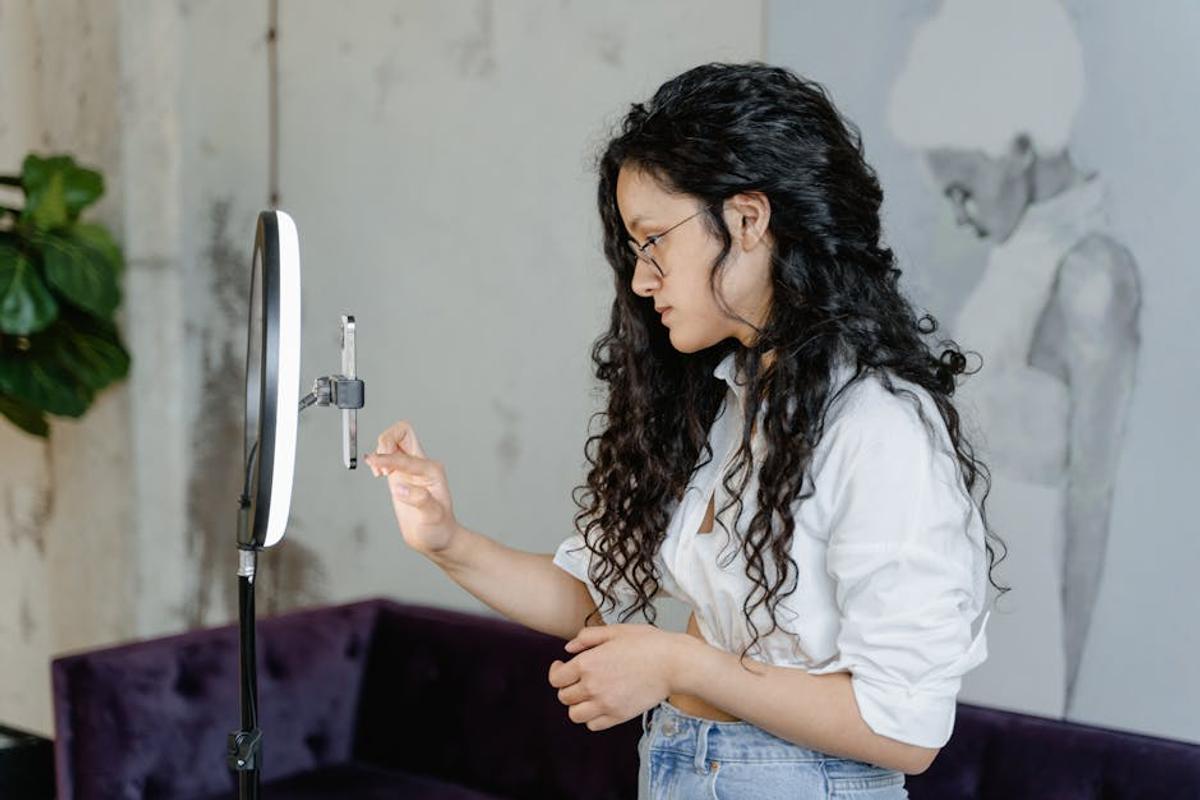
- Lighting: Good lighting is key. Avoid harsh shadows by using multiple light sources. Three-point lighting (key light, fill light, back light) is a common technique. Experiment with different light placement and intensities until you achieve a flattering and even look. Natural light is your friend, but supplement it with artificial light for consistent results.
- Background: A clean and uncluttered background is crucial. Think about your brand and what kind of vibe you want to project. A plain wall, a themed backdrop, or even a virtual background can work well. Avoid busy backgrounds that distract your viewers.
- Sound Treatment: Reduce echo and unwanted noise by using sound-absorbing materials. Think rugs, curtains, or acoustic panels. Even strategically placed furniture can help dampen sound. Remember, background noise is a major streaming killer.
- Camera Placement: Find a spot that is both visually appealing and allows you to comfortably interact with your viewers. Experiment with different angles and distances until you find what works best.
3. Mastering the Tech: Software Setup and Configuration
Now comes the technical part. But don’t worry, it’s easier than it sounds!
- Install Your Streaming Software: Download and install your chosen streaming software (OBS Studio, Streamlabs, etc.).
- Add Your Sources: This includes your webcam, microphone, game capture (if gaming), and any other sources you’ll be using.
- Configure Your Scenes: Create different scenes for different parts of your stream (e.g., a starting screen, a gameplay scene, a conversation scene). This allows for a more professional and organized presentation.
- Set Up Your Streaming Platform: Choose your platform (Twitch, YouTube, Facebook Gaming, etc.) and create an account. You’ll need to connect your streaming software to your chosen platform.
- Test, Test, Test! Before going live, thoroughly test your setup. Check your audio, video, and stream quality. Practice your transitions between scenes. Ask a friend for feedback!
4. Engaging Your Audience: Beyond the Tech
Remember, streaming isn’t just about the technical aspects. It’s about connecting with your audience. Here’s how:
- Interact with Your Chat: Respond to comments and questions. Build a community around your stream.
- Plan Your Content: Having a plan will make your stream more engaging and keep your viewers coming back for more.
- Be Authentic: Be yourself! Let your personality shine through. People connect with authenticity.
- Promote Your Stream: Tell your friends, family, and social media followers about your stream. Get the word out!
The Final Countdown: You’re Ready to Stream!
With a bit of planning and effort, you can create an amazing home streaming studio. Remember, it’s a journey, not a race. Start small, experiment, and most importantly – have fun! Now go out there and create some amazing content!
Frequently Asked Questions
What are the minimum computer requirements for streaming?
For a smooth streaming experience, you should aim for at least an i7 or Ryzen 7 processor, a decent graphics card (especially for gaming), and 16GB of RAM. A slower computer might work, but you’ll likely encounter lag.
What type of microphone should I use?
While a good webcam with a built-in microphone can work, a dedicated microphone significantly improves audio quality. Consider a USB microphone for easy setup or an XLR microphone for better audio quality (requiring an audio interface).
How important is good lighting?
Good lighting is crucial! It drastically impacts the viewer’s experience. Aim for three-point lighting (key, fill, back) to avoid harsh shadows and create a more professional look. Experiment with placement until you get the effect you want.
What streaming software is best for beginners?
OBS Studio is free, powerful, and highly customizable, although it may have a steeper learning curve. Streamlabs Desktop is a user-friendly alternative with many built-in features.
How can I improve my streaming audio quality?
Besides using a high-quality microphone, reduce echo and unwanted noise by using sound-absorbing materials like rugs, curtains, or acoustic panels. Strategically placing furniture can also help.


Leave a Reply